HOME
ABOUT US
About Us
Our Resources
MERITS
Awards
The Institution
Our Values
Testimonials
SERVICES
Service Overview
Consultancy
Strategic HRM
Quality System
Coaching & Mentoring
Capacity Building
Management & Leadership
COURSES
Overview Of Training Courses
Courses
Photo Gallery
BLOG
CONTACT US
Photo Gallery
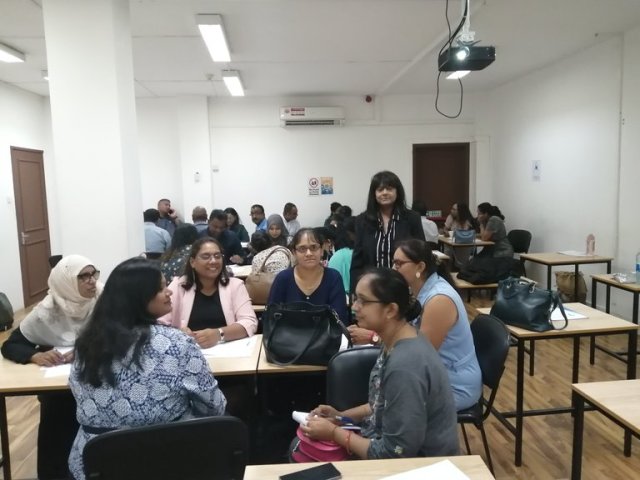
Conflict-Management-2_md
Conflict-Management-2_md
Detail
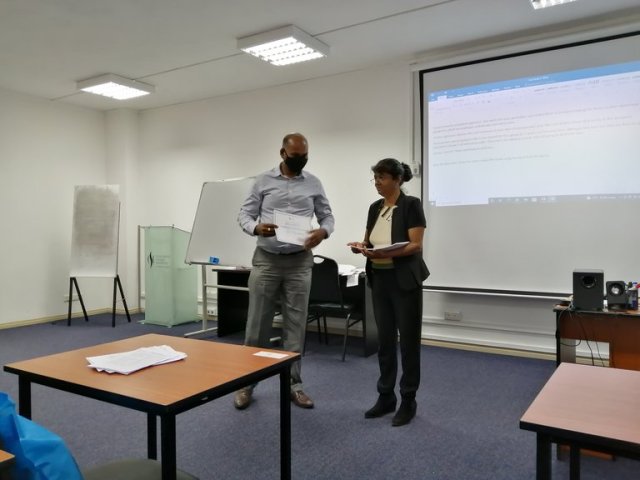
Conflict-Management_md
Conflict-Management_md
Detail
Title
Ordering
Ordering Ascending
Ordering Descending
Title Ascending
Title Descending
Date Ascending
Date Descending
Rating Count Ascending
Rating Count Descending
Rating Ascending
Rating Descending
Hits Ascending
Hits Descending
Display Num
5
10
15
20
50
All
Play Slideshow
Pause Slideshow
Powered by
Phoca Gallery
HOME
ABOUT US
About Us
Our Resources
MERITS
Awards
The Institution
Our Values
Testimonials
SERVICES
Service Overview
Consultancy
Strategic HRM
Quality System
Coaching & Mentoring
Capacity Building
Management & Leadership
COURSES
Overview Of Training Courses
Courses
Photo Gallery
BLOG
CONTACT US